AWS Athena
표준 S3에 있는 데이터를 간편하게 분석할 수 있는 대화형 쿼리 서비스
SQL을 이용해 S3의 데이터를 분석한다. Log 분석에 사용된다.
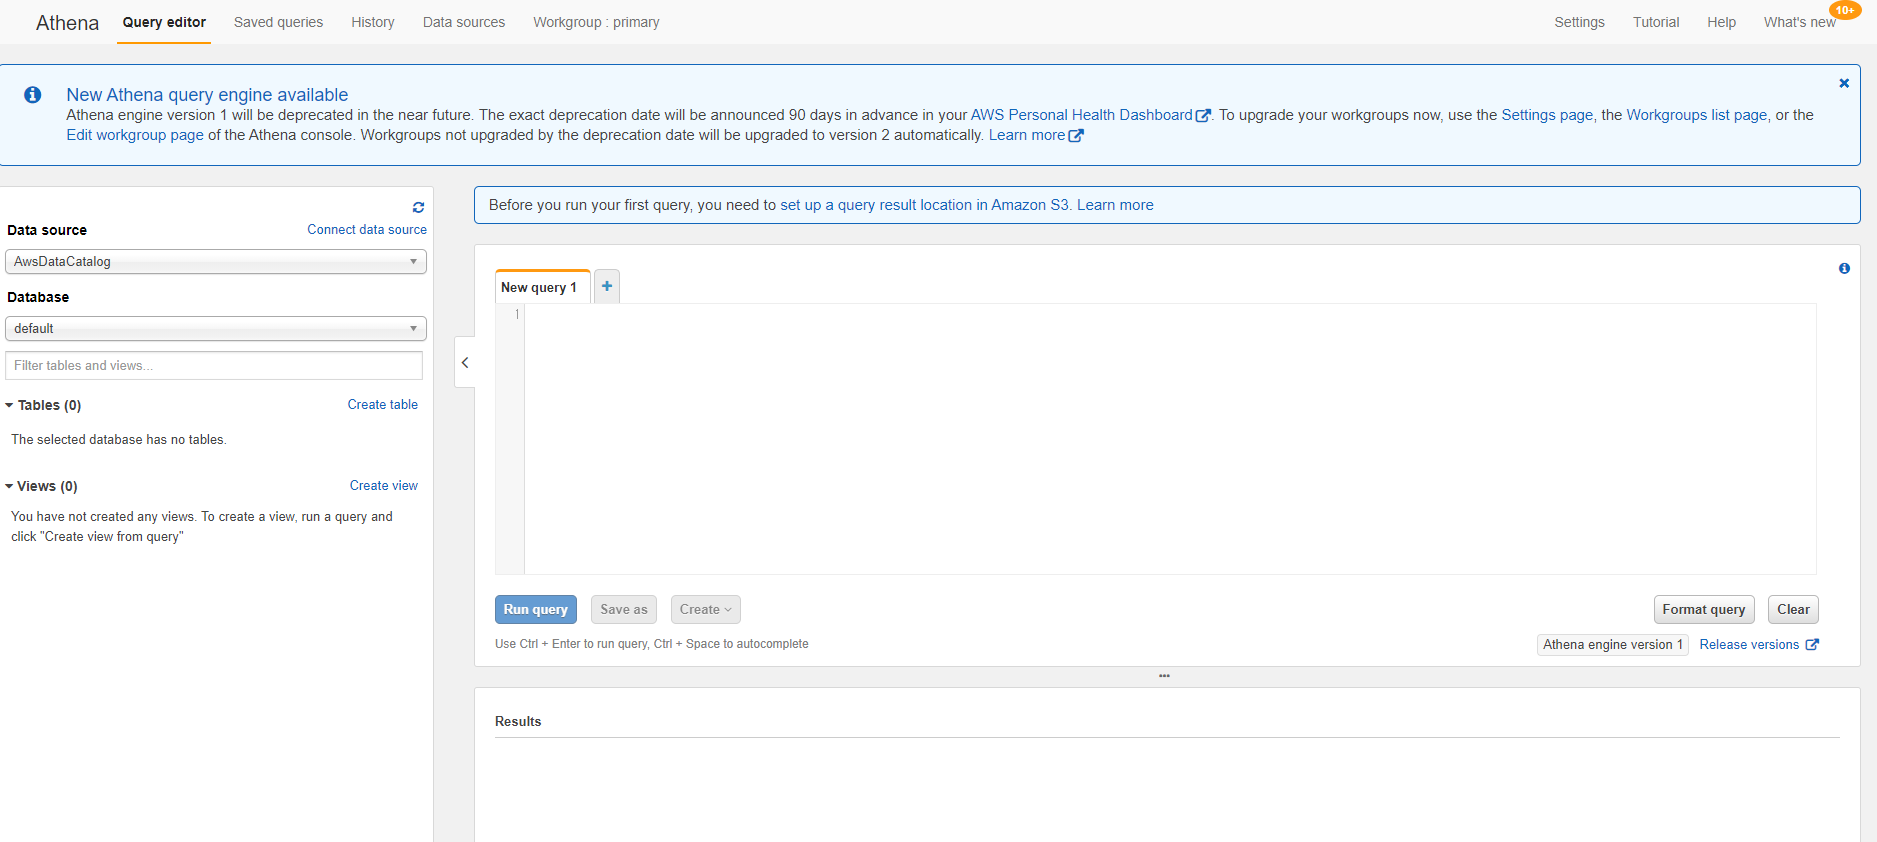
Athena Main Page
장점
1. 즉각적인 쿼리 시작
- 서버리스 서비스 👉 서버❌ 데이터 웨어하우스❌
- 복잡한 ETL 프로세스를 설정하지 않고 S3에 저장된 모든 데이터 이용 가능
2. 쿼리당 비용 지불
- 스캔한 데이터에 대해서만 비용 지불 👉 1TB = 5 USD
- Amazon S3에 직접 데이터 쿼리 실행 👉 S3 외에 별도로 스토리지 비용 발생❌
3. 개방성, 강력함, 표준
- Presto 기반 표준 SQL 실행 👉 CSV, JSON, ORC 등 다양한 표준 데이터 형식과 호환
- 데이터 가용성과 내구성 우수 👉 복잡한 분석⭕ 다양한 디바이스에서 사용⭕
4. 매우 빠른 속도
- 대용량 데이터세트에서 대화식 성능 구현 👉 병렬 방식으로 쿼리 자동 실행
*사용 방법*
📌 Workgroup 생성 전, Athena의 결과를 저장할 S3 버킷을 미리 만든다.
Workgroup 생성
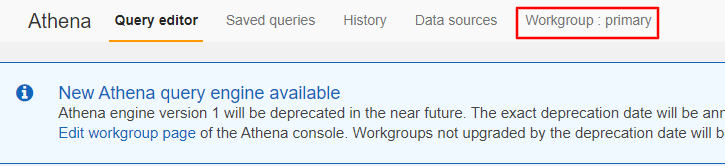 메인페이지에서 Workgroup 클릭
 create workgroup
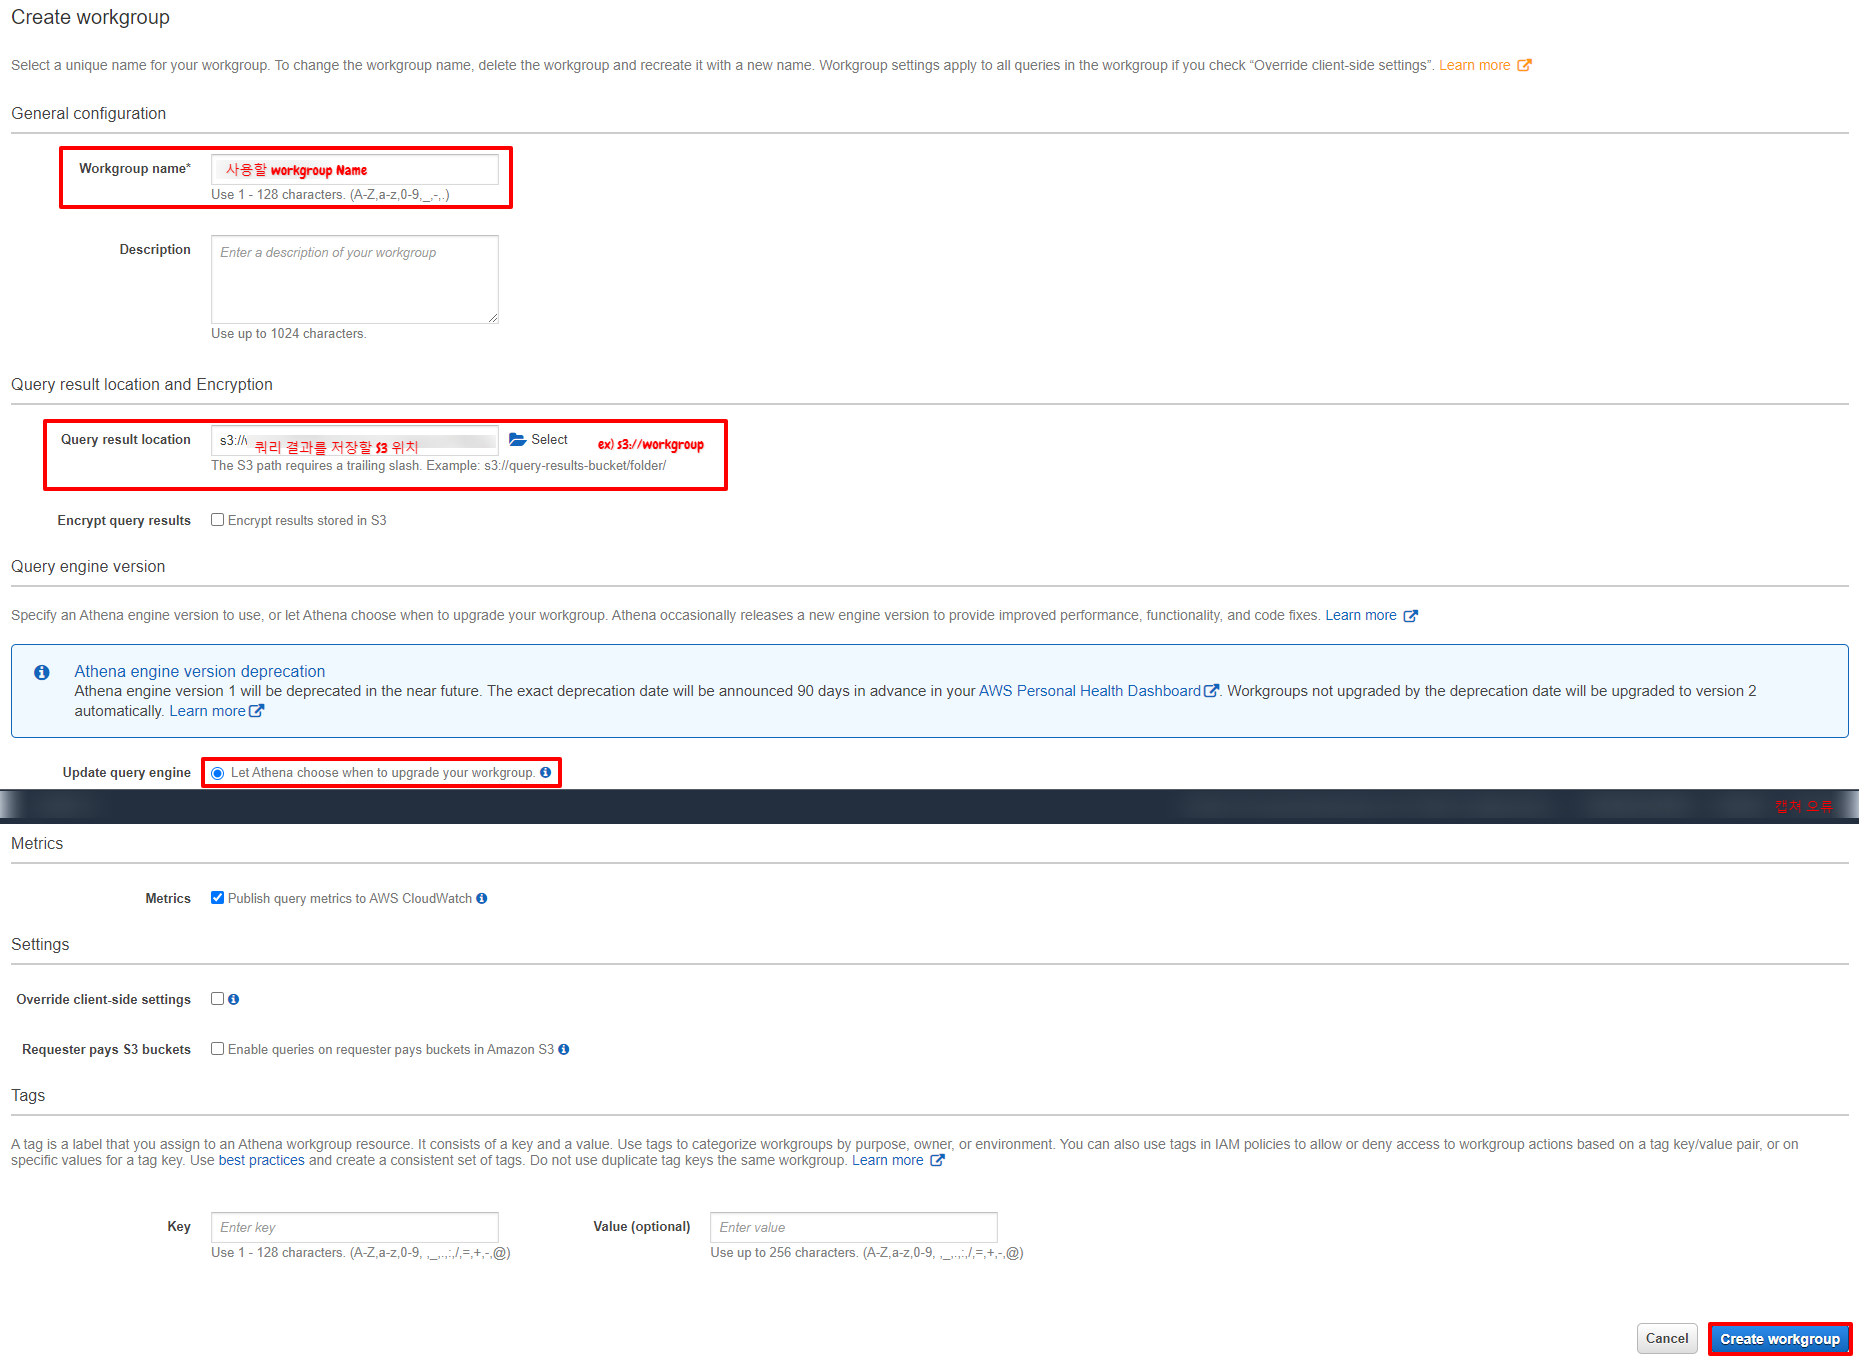
- workgroup 이름과 Athena 결과를 저장할 S3 버킷 이름을 넣어준다.
- update query engine은 편한 걸로 선택하면 된다.
- [Create workgroup] 클릭

- 새로 생성한 workgroup을 선택 후 [Switch workgroup] 클릭
Query로 S3 분석하기
Table 생성
- AWS 로크 쿼리 사용설명서 https://docs.aws.amazon.com/ko_kr/athena/latest/ug/querying-AWS-service-logs.html
- ALB https://docs.aws.amazon.com/ko_kr/athena/latest/ug/application-load-balancer-logs.html
- NLB https://docs.aws.amazon.com/ko_kr/athena/latest/ug/networkloadbalancer-classic-logs.html
CREATE EXTERNAL TABLE IF NOT EXISTS alb_logs (
            type string,
            time string,
            elb string,
            client_ip string,
            client_port int,
            target_ip string,
            target_port int,
            request_processing_time double,
            target_processing_time double,
            response_processing_time double,
            elb_status_code string,
            target_status_code string,
            received_bytes bigint,
            sent_bytes bigint,
            request_verb string,
            request_url string,
            request_proto string,
            user_agent string,
            ssl_cipher string,
            ssl_protocol string,
            target_group_arn string,
            trace_id string,
            domain_name string,
            chosen_cert_arn string,
            matched_rule_priority string,
            request_creation_time string,
            actions_executed string,
            redirect_url string,
            lambda_error_reason string,
            target_port_list string,
            target_status_code_list string,
            classification string,
            classification_reason string
            )
            ROW FORMAT SERDE 'org.apache.hadoop.hive.serde2.RegexSerDe'
            WITH SERDEPROPERTIES (
            'serialization.format' = '1',
            'input.regex' =
        '([^ ]*) ([^ ]*) ([^ ]*) ([^ ]*):([0-9]*) ([^ ]*)[:-]([0-9]*) ([-.0-9]*) ([-.0-9]*) ([-.0-9]*) (|[-0-9]*) (-|[-0-9]*) ([-0-9]*) ([-0-9]*) \"([^ ]*) ([^ ]*) (- |[^ ]*)\" \"([^\"]*)\" ([A-Z0-9-]+) ([A-Za-z0-9.-]*) ([^ ]*) \"([^\"]*)\" \"([^\"]*)\" \"([^\"]*)\" ([-.0-9]*) ([^ ]*) \"([^\"]*)\" \"([^\"]*)\" \"([^ ]*)\" \"([^\s]+?)\" \"([^\s]+)\" \"([^ ]*)\" \"([^ ]*)\"')
            LOCATION 's3://your-alb-logs-directory/AWSLogs/<ACCOUNT-ID>/elasticloadbalancing/<REGION>/';
- 마지막의 LOCATION 값만 바꿔주면 된다.
- ex) LOCATION ‘s3://alb-log/AWSLogs/12345678/elasticloadbalancing/ap-northeast-2/’ ▶ s3 버킷 > alb-log > AWSLogs 폴더 > 12345678 계정 > ELB > 서울
- 밑줄 쳐진 부분이 수정해야 할 부분이다.
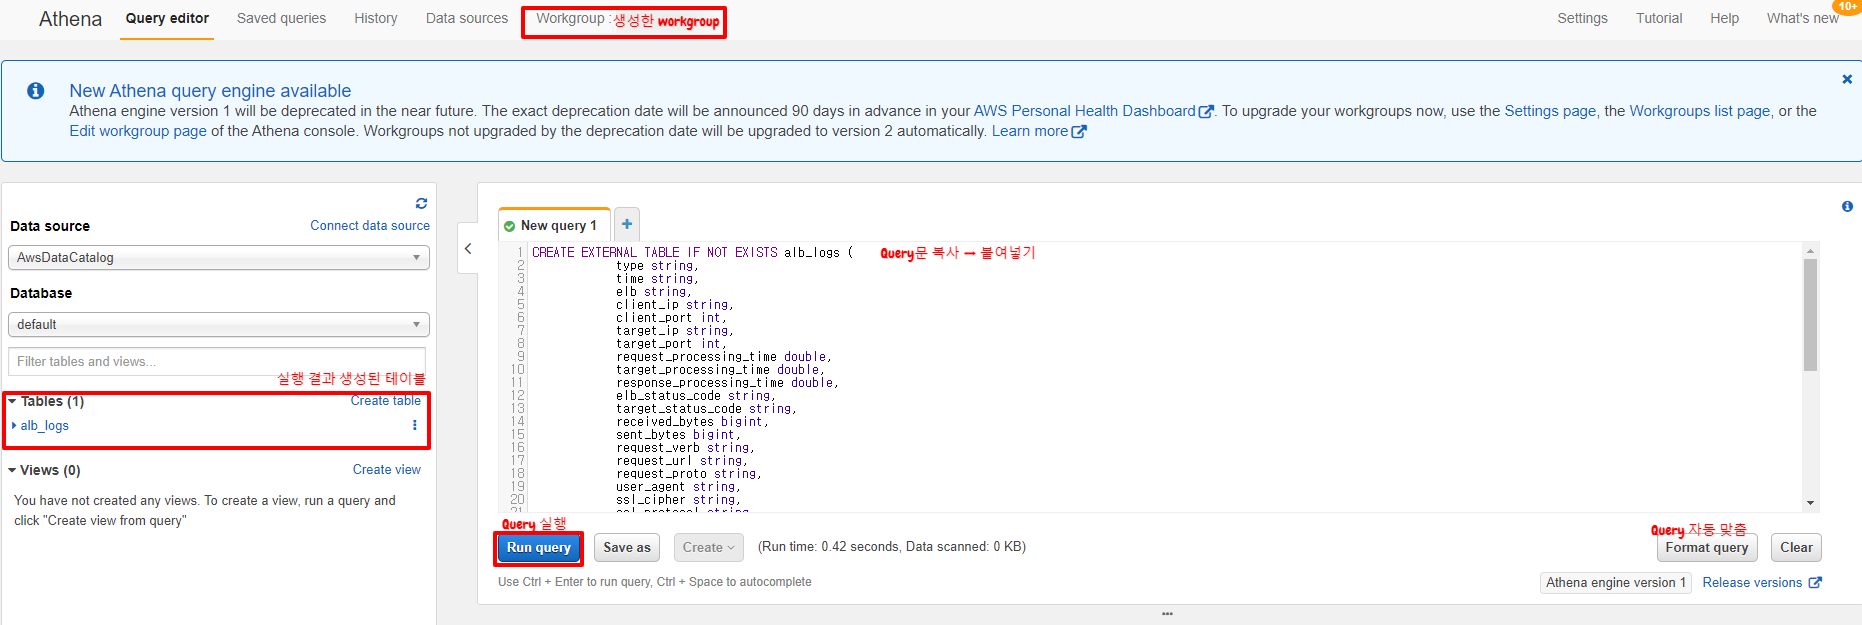
- 위 Query문을 복사하여 화면에 붙여넣기 한다.
- [Run Query]를 실행하여 테이블을 생성한다. (단축키 Ctrl + Enter)
- 왼쪽에 테이블이 생성 된 것을 확인한다.
Table 조회
- 이후 필요한 것을 쿼리를 이용해 조회하면된다.
- CreateTable을 이용해 여러개의 table을 만들었을 때, 같은 Colum을 가지고 있어서 여러 개를 한 번에 조회하고 싶으면 UNION을 사용한 쿼리문을 작성하면 간단하게 조회할 수 있다.
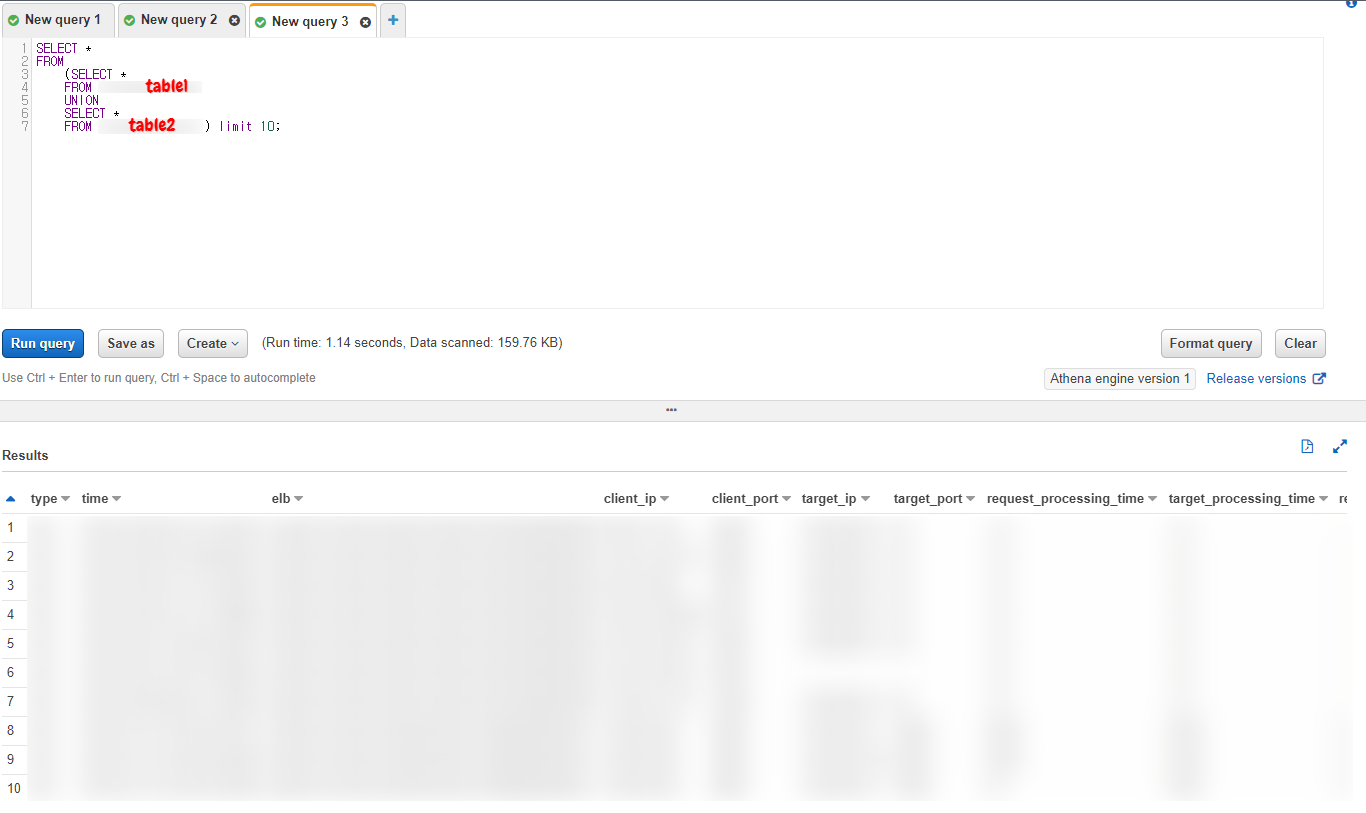
- 조회를 하면 아래와 같이 결과가 나온다.
특징
- Lambda와 같은 형식으로 이루어지기 떄문에, Run을 누른 만큼 가격이 나간다.
- 찾는 것이 오래 걸릴 수록, 쿼리가 오래 돌아갈수록 과금이 된다.